Easy Slider Spinach Feta Veggie Sliders
Highlighted under: Everyday Planning
Easy Slider Spinach Feta Veggie Sliders
Easy Slider Spinach Feta Veggie Sliders
Easy Slider Spinach Feta Veggie Sliders
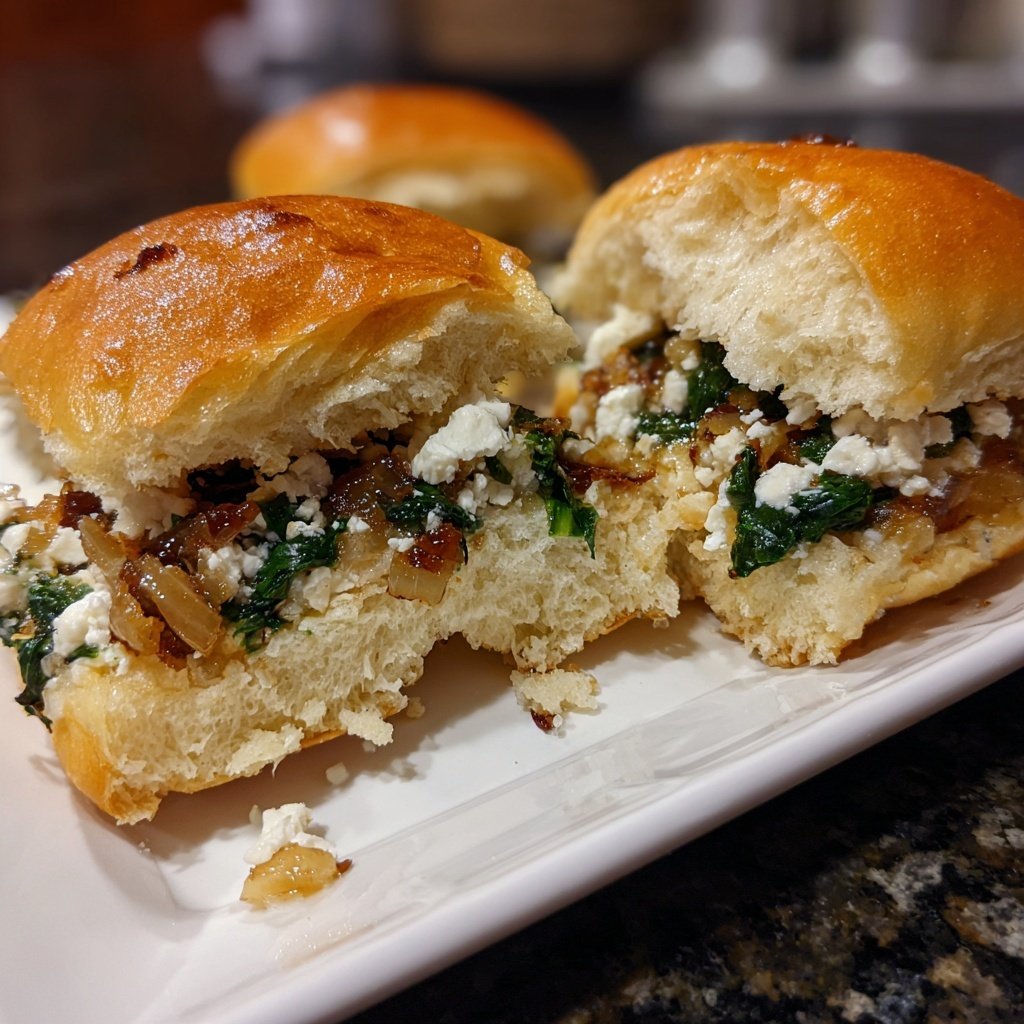
Mastering the Spinach Feta Flavor Profile
The combination of spinach and feta in these sliders not only provides a delightful flavor but also packs a nutritional punch. Spinach is high in iron, vitamins A and C, while feta adds a tangy depth to the mix. For the best results, use fresh spinach; it wilts perfectly and retains some texture, contributing to the overall bite of the slider. If you can’t find fresh spinach, frozen spinach works as a substitute—just be sure to thaw it completely and drain any excess liquid to avoid a soggy slider.
When it comes to feta, opt for block feta instead of crumbled. Crumbling it yourself will yield a creamier texture when mixed with the other ingredients. This creaminess helps bind the sliders together without the need for additional fillers. If you prefer a milder flavor, a soft goat cheese can be swapped for feta, creating a different yet enjoyable twist on the slider’s base flavor.
Cooking Technique Tips
Achieving the perfect texture for your Easy Slider Spinach Feta Veggie Sliders hinges on the cooking method. For best results, preheat your skillet or grill to medium heat. This will help to develop a golden crust on the sliders, offering a satisfying contrast to the creamy interior. Avoid overcrowding the pan, as this can cause the temperature to drop and lead to steaming instead of browning—cook in batches if necessary.
Another crucial step is to let the mixture rest before forming sliders. Allowing the flavors to meld for about 10-15 minutes helps to firm up the mixture, making it easier to shape without falling apart. If you find your mixture too wet to hold its shape, consider adding a tablespoon of breadcrumbs or oat flour to absorb excess moisture, ensuring a firmer slider.
Storage and Make-Ahead Tips
These sliders are perfect for meal prep! You can make the mixture up to a day in advance and store it in an airtight container in the refrigerator. This not only saves time but also allows the flavors to develop more deeply. When you're ready to cook, simply shape the mixture into patties and follow the cooking instructions as normal.
If you have leftover cooked sliders, refrigerate them in a sealed container for up to three days. They can be reheated in a skillet over medium heat, where they will regain their crispy exterior while heating through. Alternatively, you can freeze the uncooked patties for convenient future meals; just make sure to separate the patties with parchment paper to prevent sticking.
Serving Suggestions
These sliders are incredibly versatile and can be served in various ways. For a light meal, serve them on whole-grain buns with fresh toppings like sliced cucumbers, tomatoes, and a dollop of tzatziki or Greek yogurt. This creates a wonderful contrast between the warm slider and the cool, refreshing toppings.
For a gluten-free option, serve the sliders wrapped in lettuce leaves or atop a quinoa salad for a nutrient-dense meal. Pair with sweet potato fries or a simple side salad to round out the dish. To elevate the experience, consider a drizzle of balsamic reduction or hot sauce for an extra kick!